Login
Log in if you have an account
Register
By creating an account with our store, you will be able to move through the checkout process faster, store multiple addresses, view and track your orders in your account, and more.
Create an accountBill's Winter Harbinger
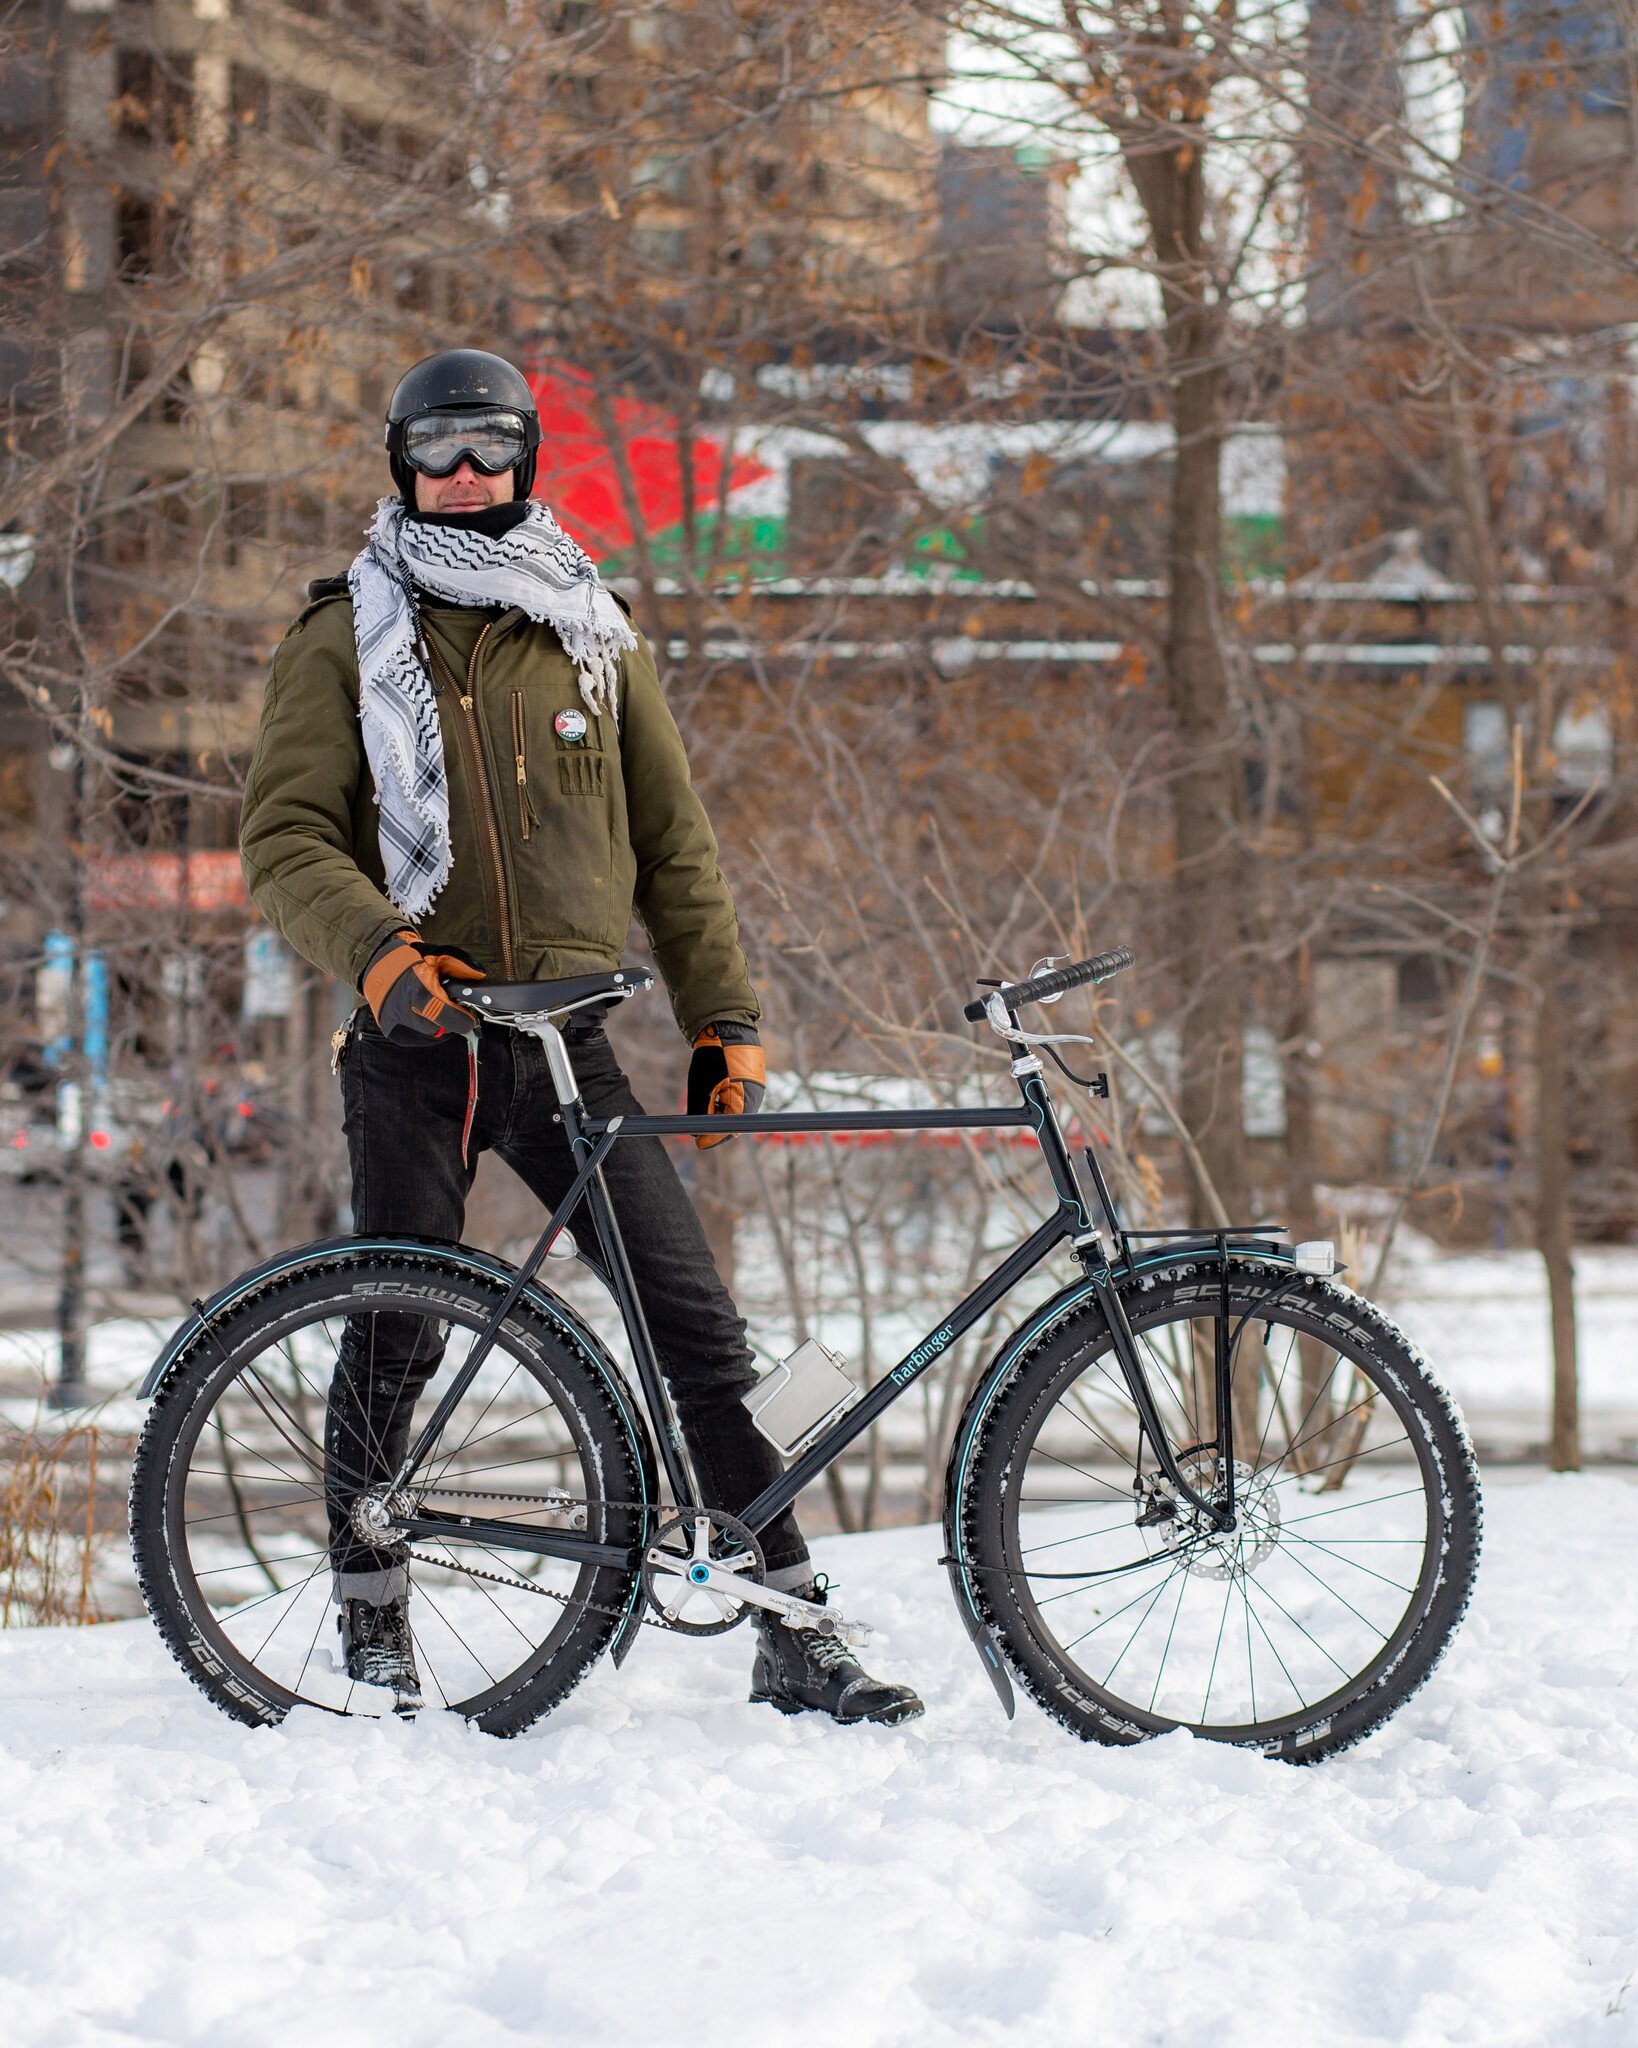
Editor's note, because I was curious and figured you would be too: Bill tells me he estimates this bike took at least 400 hours to build. You can really see it!
Before I had even finished building my first frame, I knew I was hooked. I spent a lot of time considering my second: a frame that could handle a real Tiohtià:ke winter.

First, a few words about that. It's hard to say this without sounding condescending, so here goes; the concept of winter cycling, as it is often expressed in blogs and articles, portrays a version of winter that is, well... quaint. Do you live in the pacific northwest, or the US east coast, and maybe it gets extra rainy for a few months? It will even snow an inch or two a couple of times? Better put some fenders on that road bike, maybe even bump the tires up to 28mm! How cute.
There's rarely talk of snowbanks piled higher than your head, or roads covered in salt that will eat your chain every few months or so. Not to fall into the machismo of bragging about a northern winter, but it must be said: if you've never felt your snot freeze inside your nose, then we're not talking about the same thing.

Of course, there are places colder than my city, and the catastrophe of climate change means that even here we experience more winter thaws than ever. But I would say that makes the choice of a winter bike here even more challenging. There are places so cold that there's no point in salting the roads. Sure, the temperatures are lower, but the conditions are stable and predictable.
Here, on the other hand, the salt on the roads lowers the melting point of snow and ice so that the winter roads are almost perpetually wet. A familiar soup of salty slush will spray your bike at all times, sticking to it and corroding your parts. The freshly thawed water will seep into your cables and housing, only to freeze again moments later and seize your brakes. As the temperature continues to drop, eventually even the salt won't stop water from freezing. And now all that previously thawed water that covered the roads becomes a skating rink, albeit with tire ruts throughout. Then maybe it snows again, so you'll have a nice layer of soft snow that easily slides over the ice beneath. As the temperature rises, the snow becomes wet hard pack that fills the space between your fenders and tires, bogging you down.

So what's the ideal bike for these conditions? As you can imagine, this is a topic of some debate. Some say it's best to have skinny tires pumped to high pressure, to slice through the deep snow. Some people ride fat bikes. Luckily, all these options and everything in between are available to us, so we can pursue what we like, rather than worry about who's right. In that spirit, I humbly offer what I thought was needed for a suitable winter bike:
- Cables and moving parts should be kept to a minimum. They just introduce the possibility of failure, and you'll have to replace them regularly. Instead, save yourself the trouble and expense by keeping it simple. If you must have gears, internal gears are preferable to derailleurs, as the moving parts are relatively sealed from the elements.
- Fenders are a must. Full coverage is nice, but not strictly necessary. Most likely you'll be wearing boots anyway, so a simple rear fender to keep the spray off your body will do. No need for anything fancy.
- For tires, knobbies are an absolute must, and after switching to studded tires years ago, I'll never go back. Yes, they are slower, but with the added stability you can try to go as fast as you can. Usually, that's faster than you'd go without them.
- The bike must be a real piece of junk. I mean total crap. Nice bikes with nice parts will only be rusted or destroyed after a season or two. Liberate yourself from the heartache by riding a beater for your winter bike.
This criteria led me to an old 90's department store mountain bike with horizontal dropouts that built up easily as a fixed gear. It served me well for over a decade.
But I couldn't help but wonder if a nice winter bike could be justified, if it's well thought out. What if I brazed all the vent holes in the frame shut, to limit moisture from getting inside the steel tubes? What if the other frame attachments were blind bosses, so they also don't create openings to the inside of the frame? What if I chose all the components based on the specs above, and built the frame around them?

I also wanted to try some things that I'd seen done by my favourite frame builders. If I acknowledge it, it's a homage rather than just copying, right? I'll try to mention specific things throughout, but to understand the general look I was going for, you should check out a bike called the Discville built by Mitch Pryor. This bike was burned into my mind, and the elegant combination of modern parts with a classic aesthetic became my inspiration here.
This was also a chance for me to experiment with new things, both in terms of fabrication and components. Some of these experiments were more successful than others, as you'll see.
So to start with, I chose to go with a Gates carbon belt drive. The belt can't rust, doesn't require lube, and lasts much longer than a chain under any conditions. So it's a great choice for a winter bike. The usual drawback is that you need a frame specially made or modified, with a split in the rear triangle to be able to install the belt. No problem here! As a side note, not all of the Gates belts are rated for low temperatures, so if you're planning a winter bike, make sure you get one that is!

Many people miss the discreet split built into the chainstay. This is a design that I copied from Rob English of English Cycles. The clamp is socketed, so the connection is very solid. A single M6 bolt, hidden in hooded dropout, holds it all together.

I chose an eccentric bottom bracket to be able to tension the belt. The belt won't stretch with wear the way a chain does, so I don't need a lot of adjustment here. For that reason I went with a smaller PF30 bottom bracket. As a bonus, I got to see the amused looks on people's faces when I told them I was building a frame with this otherwise obsolete standard.

I also carved these faux lugs for the bottom bracket shell. This was mostly for fun, and I enjoyed carving the various lugs to match throughout the frame. These three dots on the BB shell and seat cluster are also an aesthetic homage to Rob English, as you'll see his influence elsewhere on the bike as well.


The rear hub is the ultra reliable Sturmey 3 speed internal gear hub, with a coaster brake. This fits the build spec, as it eliminates the need for a rear brake cable, and keeps the gearing mechanism relatively protected from the elements. It's also necessary with the belt drive, which is incompatible with external derailleurs. Because the belt is tensioned at the BB, the hub axle and therefore the coaster brake arm is stationary. That meant I could install the brake arm in a dedicated braze on for a sleeker look.

Although it theoretically exists in other drillings, I was unable to find this hub for anything other than 36 spokes. I'm not a heavy guy, and I wanted this to be a light, zippy bike. So 36 spokes just felt like overkill. I found a solution on an internet forum: a lacing pattern for a 24 spoke rim to a 36 spoke hub!
As you can see here, this is achieved by skipping spoke holes in the hub. This means that the tangent of the leading and trailing spokes is not the same. To compensate, there are two different spoke lengths on the same side of the wheel! Like this, the wheel builds up with even tension throughout. This was a fun and challenging wheel build, and I'm really happy with the results.

Continuing down the drivetrain, I've joined Julian's Rachel as part of this new genre of bikes: Sturmey 3 speeds with Dura-Ace cranks. This one came from my parts bin and has 177.5 mm arm length, how cool!

The carbon belt requires a wider chainring than normal. That, combined with the narrow chainline of the Sturmey hub, the wide tires, and the desired chainstay length, means that clearance is pretty tight. So a chainstay yoke was the best solution. I made this one myself out of a big chunk of 4130 steel. Very heavy but also very stiff! I'm pretty happy with how my finishing work on this turned out.

Moving up the frame, we'll find some more weirdness. Many people are confused when they see the stem, and wonder how it is fixed to the fork. The easiest way to explain it is that it's a normal threadless headset system, but upside down! Usually the fork and the steerer tube are one piece, and the stem clamps to the top of the steerer. Here, the stem and steerer tube are both a single piece, and the fork clamps to the bottom of the steerer, with a "top" cap under the fork crown to add preload to the headset.
What's the advantage of this system? None that I'm aware of. But I thought it looked cool and wanted to try it! I also like the clean look of a quill stem that it makes possible, adding to the classic aesthetic I was going for. This is another inspiration from Rob English, who I first saw build a fork like this.


But there's more! I also made the handlebar, which is brazed directly to the stem. Once again, no real advantage here other than the fun of doing it, and the aesthetic. I tried to recreate the point on the stem that I first saw on a custom stem made by Erik Estlund from Winter Bicycles.

But wait, it gets even weirder! So for the front brake, I had to put aside my usual grumpiness and admit that a disc brake was the best option. Rim brakes suffer in the wet, and the salt and sludge will absolutely eat even the best alloy rims. The performance of hydraulics can also suffer in extreme cold. So mechanical it was. This also meant I could use this CLB lever, just like the Discville dream bike.

I liked that the lever's cable was internal to the bar, because it meant that one of the housing openings would be completely hidden from the elements (remember the build spec!). This got me to thinking, how internal could I make it? The handlebar, stem, and steerer were already one piece, it wouldn't be too complicated to run a brass tube inside as a cable guide... could I connect it from there to the fork crown and blade? This is what I attempted, to make the brake cable not just internal, but Really Fucking Internal™.
Again, this was one of my experiments, just for fun, but maybe one of the less successful ones. There are many right angles here, some very close to each other, especially the successive turns from the steerer to the fork crown, to the fork blade. It creates a lot of friction and drag on the cable. You can see this little spring I added to the brake caliper, to try to compensate.

It works ok, and adding a plastic sleeve to the internal guide tubes helped a lot. It's now a very functional brake, which is the nicest way to put it, but the process to replace a cable is super tedious, requiring the disassembly of the fork. I don't think I would do this again, but I'm glad I tried, and I really like the sleek look it gives the bike.
I liked the look of a classic fork crown, and oval fork blades, and I didn't trust my ability to fabricate any other kind of fork. At the same time, I knew that these blades would be too light to resist the twisting forces from the disc brake. My solution to this was to build a truss to create triangulation. That's the real purpose of the front rack’s legs.
Once the truss structure was complete, I figured why not put a platform on top and use it as a rack? Someone commented that this rack reminds them of Joseph Ahearne's work, and I must have been channeling images I'd seen of his rack building process when I made this.

From there I decided to take it a step further and make a custom decaleur, brazed directly to the steerer/stem, so I can use my beloved Acorn Rando bag.

Lights on a winter bike are really important, especially as it gets dark earlier and earlier. Of course I wanted a dynamo hub. For the wiring, I tried to follow the same concept as the brake cable. All the wiring is hidden inside the tubes of the bike, with brass internal guides throughout so there are no openings to the more rust-vulnerable steel.

I didn't want the more common wire hole in the down tube, both to avoid a hole for moisture to enter the tube, and also to maintain the sleek look. Instead, there's a spring loaded connector inside the downtube/headtube junction that contacts an isolated brass tube on the steerer. I fabricated this myself from random bits from the hardware store, just a couple of months before René Herse released a very similar ready made kit. Sigh. My setup is actually more complicated though, because of the whole upside down headset situation. So there's also a spring loaded connector in the fork crown, that contacts a fixed point on the steerer, which connects to a wire that passes through a very small hole in the steerer, to contact the aforementioned brass tube. Phew! Maybe overly complicated, and the truth is that it does not work very well. I've already done a couple of painstaking disassemblies to rewire the rear light, only to have it fail again. Probably another failed experiment, but I haven't given up yet!

By this point, I was in love with the clean look of the handlebars, and didn't want to put anything else on them.
So both the bell and shifter got dedicated mounts brazed to the stem. Using a downtube shifter makes this possible, and is also easier to operate with mittens. The shifter cable is also Really Fucking Internal™. The Jo Routens-style seatstays are pretty, but also facilitate the shifter cable passing directly from the inside of the top tube, to inside the seatstay, to exit just above the hub. This was much more successful than the brake cable routing, probably owing to the relative simplicity, and the forgiving adjustment of the Sturmey 3 speed system.

Another experiment on this bike, for me at least, are the carbon rims. I've been curious about carbon rims for some time. But I hate the feel of carbon as a braking surface, not to mention that using carbon rims with rim brakes also makes them a disposable part, as all rims with rim brakes ultimately are. I find them a bit expensive for that. And unlike an alloy rim, a carbon rim will surely just sit in a landfill once it reaches that point.
But finally I was building a bike with no need for a braking surface on the rim. This was my chance! They are also a nice choice to pair with the 24 spoke lacing pattern, as the conventional wisdom is that stiffer carbon rims require fewer spokes. So far so good, but we'll have to see how they hold up in the long term.
The tires are Schwalbe's Ice Spiker Pro, my favourite winter tire. Some will say that this tire is overkill for city riding. Yes, I agree! Absolute overkill! I love it. These are also the surprisingly hard to find variant with their Evo Liteskin. It's the folding version of the Ice Spiker, the only supple winter tire that I know of. I'm running these tubeless, another winter experiment for me! So far I am enjoying the low pressure and cushy ride.

The frame tubing is René Herse Kasei tubing throughout, with the exception of beefier Columbus mountain S-bend chain stays, and generic 4130 straight gauge tubing for the steerer, stem, handlebar and rack. Once again, I chose powder coating as the finish for its durability. I decided on "harbinger" as a name, again just for fun. The folks at Magnus Coating were able to do the lettering in powder as well, which I think is really impressive! I did the lining on the lugs and fenders myself, another first time experience for me. I just followed along with Brian Chapman's Instagram as if it were an instructional video. Mine didn't turn out nearly as clean as his, but not bad for a first try!

Just like my last frame, this one also has a decal on the seat tube to acknowledge where it was made: the unceded territory of the Kanien'kehá:ka people. This bike is also repping a Palestine themed rear reflector from Bikecrud, which feels sadly crucial after over a year of genocide in Gaza and increasing violence in the West Bank. For those who might not know, the watermelon became a well known Palestinian symbol after the occupation banned not only the Palestine flag, but also any artwork that featured the flag's colours. Palestinian artist Issam Badrl was famously told by occupation authorities that if he painted a watermelon, it would be confiscated. Since then, the locally grown melon became a symbol of the Palestinian people's steadfast resistance to their colonizers.


In the end, I'm really happy with how this bike turned out. So happy, that I've decided to use it as my four season commuter. In the spring it gets slick tires and continues its daily duties.

This was only my second frame, and it was really fun to challenge myself and try new things. This is my first winter riding it, so ask me again in a year how successful I was...

Photos by Troy
Leave a comment
Recent articles
View all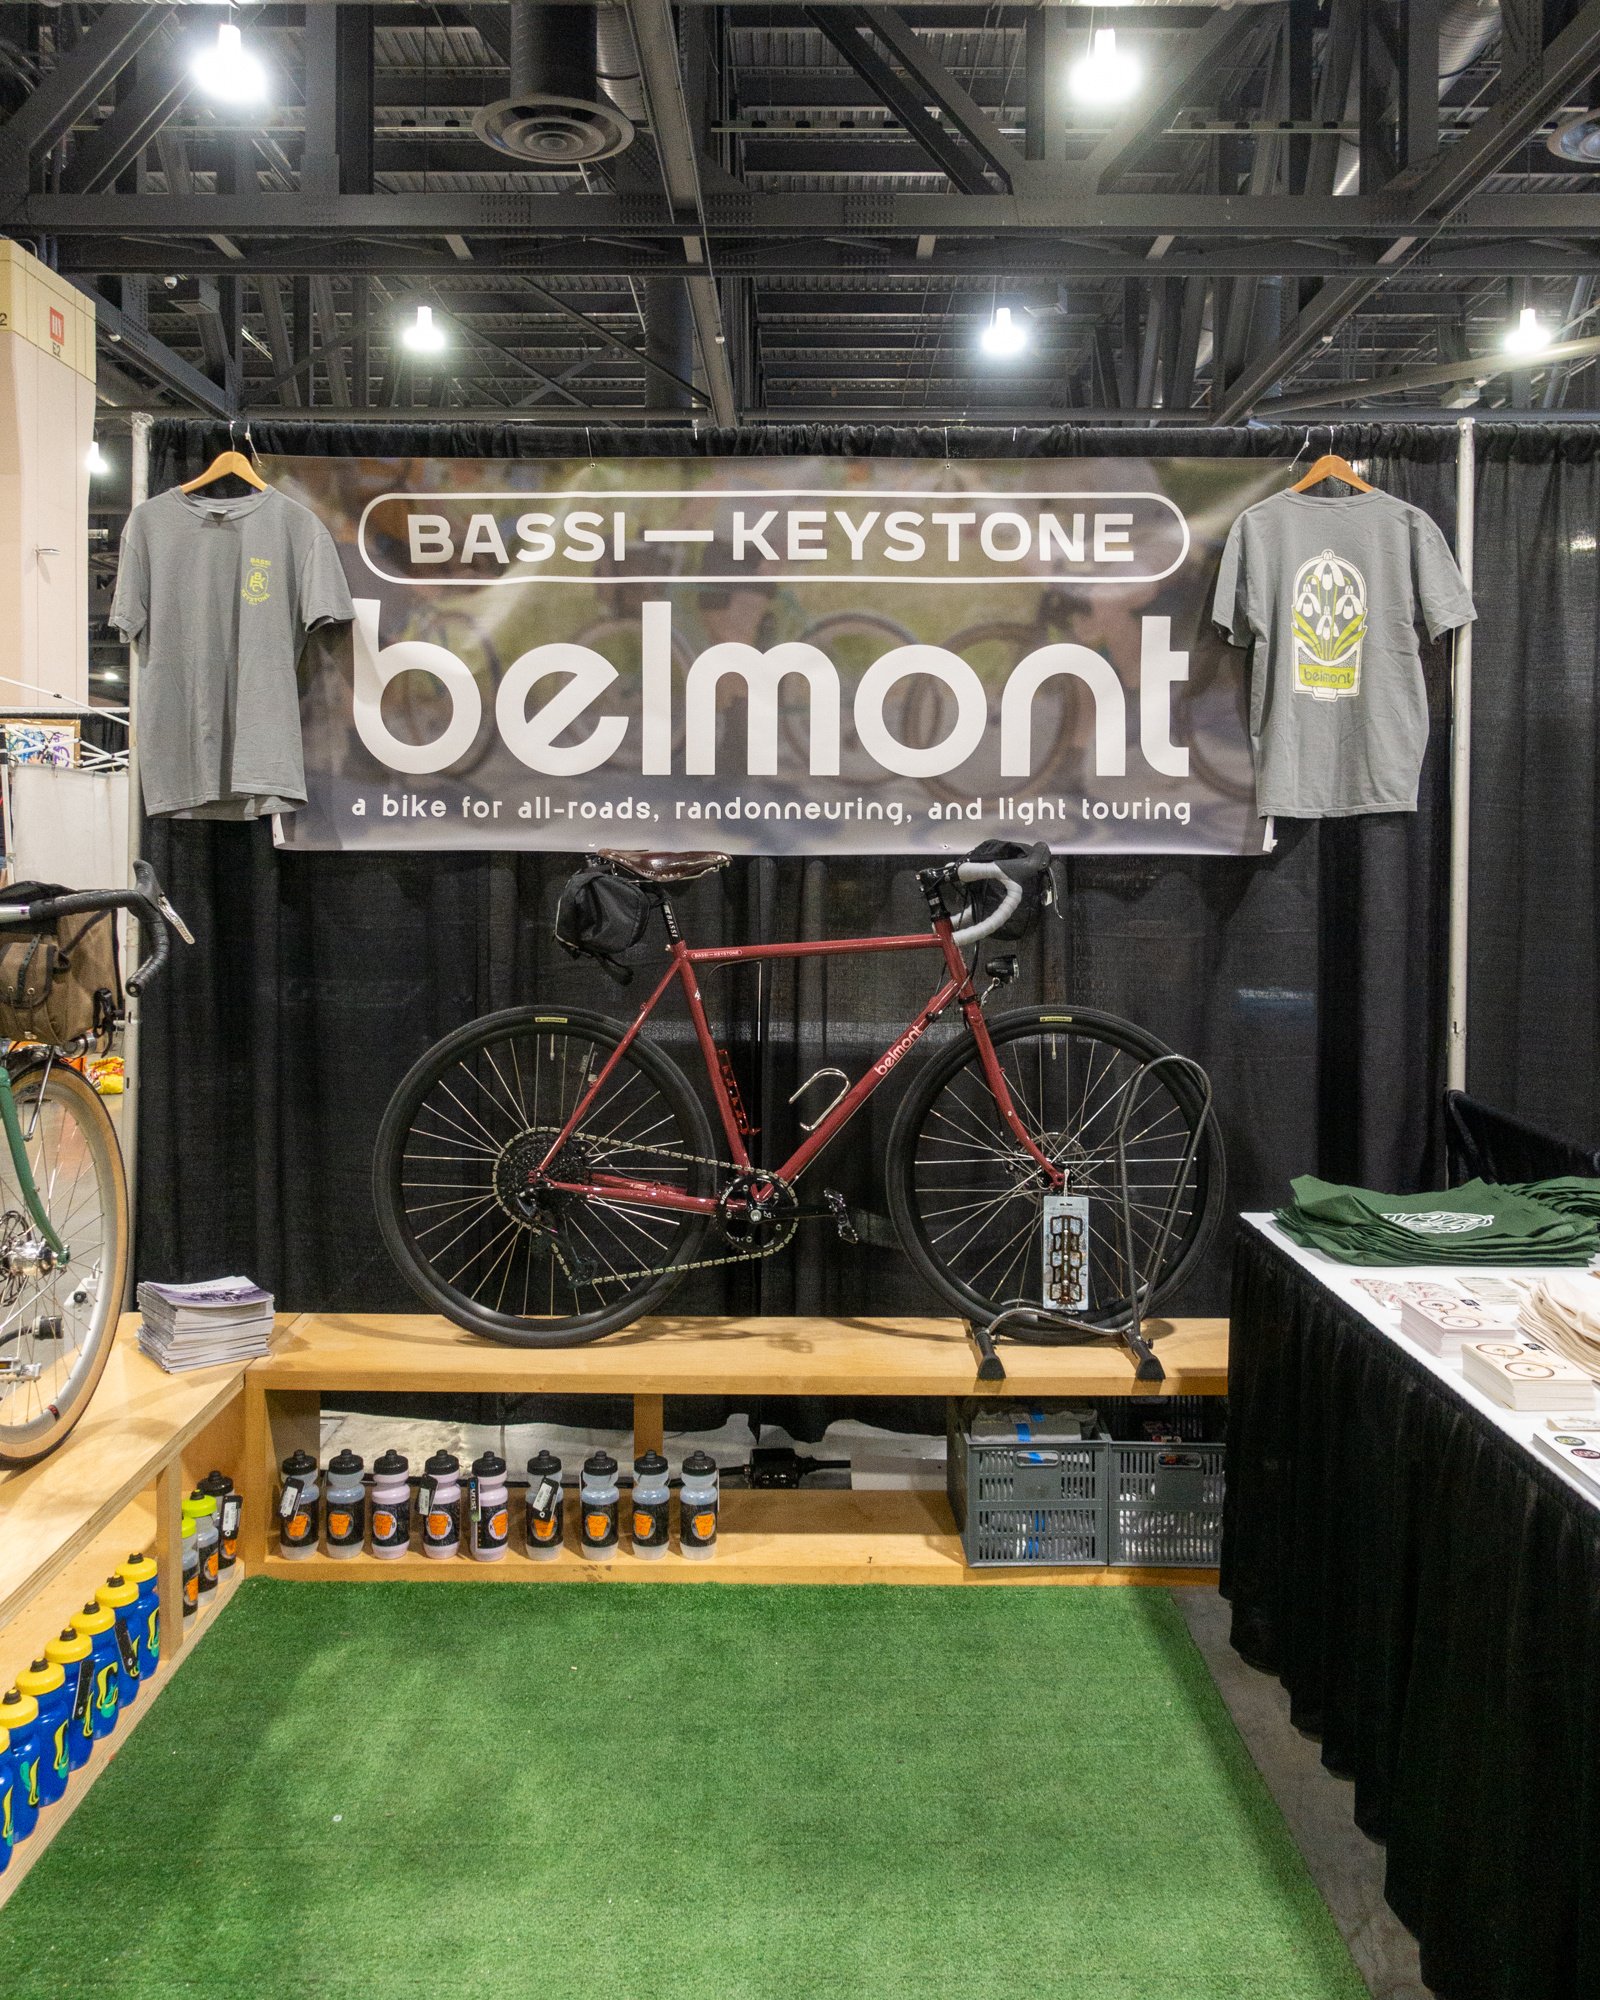
Philly Bike Expo 2025!

A place called the Plateau